


Introduction
My name is Uchenna Obidike. I am an entry level developer, who just got accepted as an Intern at Sycamore. Sycamore is tech company, that offers Financial solutions.
Like every Intern you would be given a task, and me being new to the tech world, it was really an exciting opportunity for me. I was given a task by my supervisor Mr. Bolu, well that is what he likes been called (He is so good. He is now among the list of people I want to be like when I grow up).
Well the task I was given was to build a user authentication endpoint using postgres as my database. If you like me and just starting out, then this article is for you.
Installation
Applications you will need are:
- Visual Studio Code
- Postman
- Postgresql
If you don't have, you can download the apps above using this link [VScode]
 code.visualstudio.com/download.
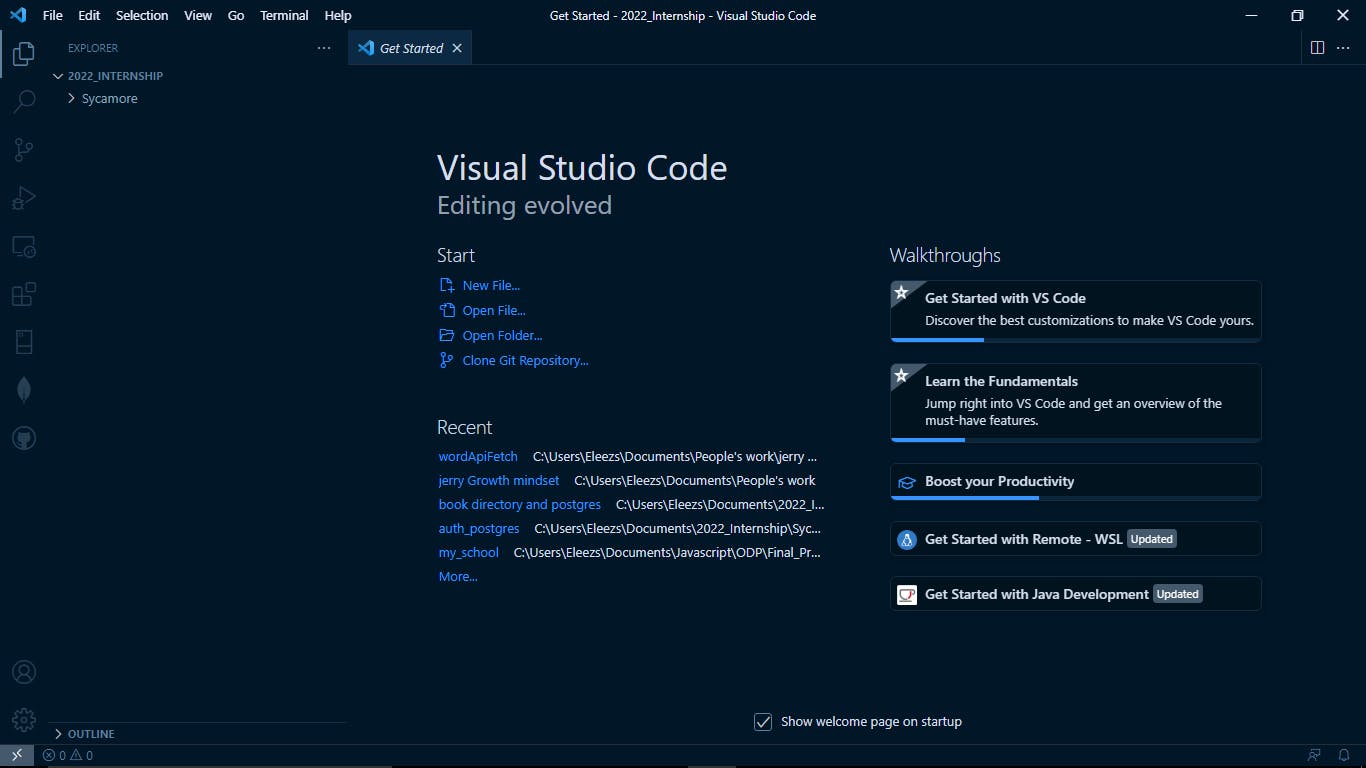
Visual studio code is a source-code editor made by Microsoft. I really enjoy the intellisence in VScode.
code.visualstudio.com/download.
Visual studio code is a source-code editor made by Microsoft. I really enjoy the intellisence in VScode.
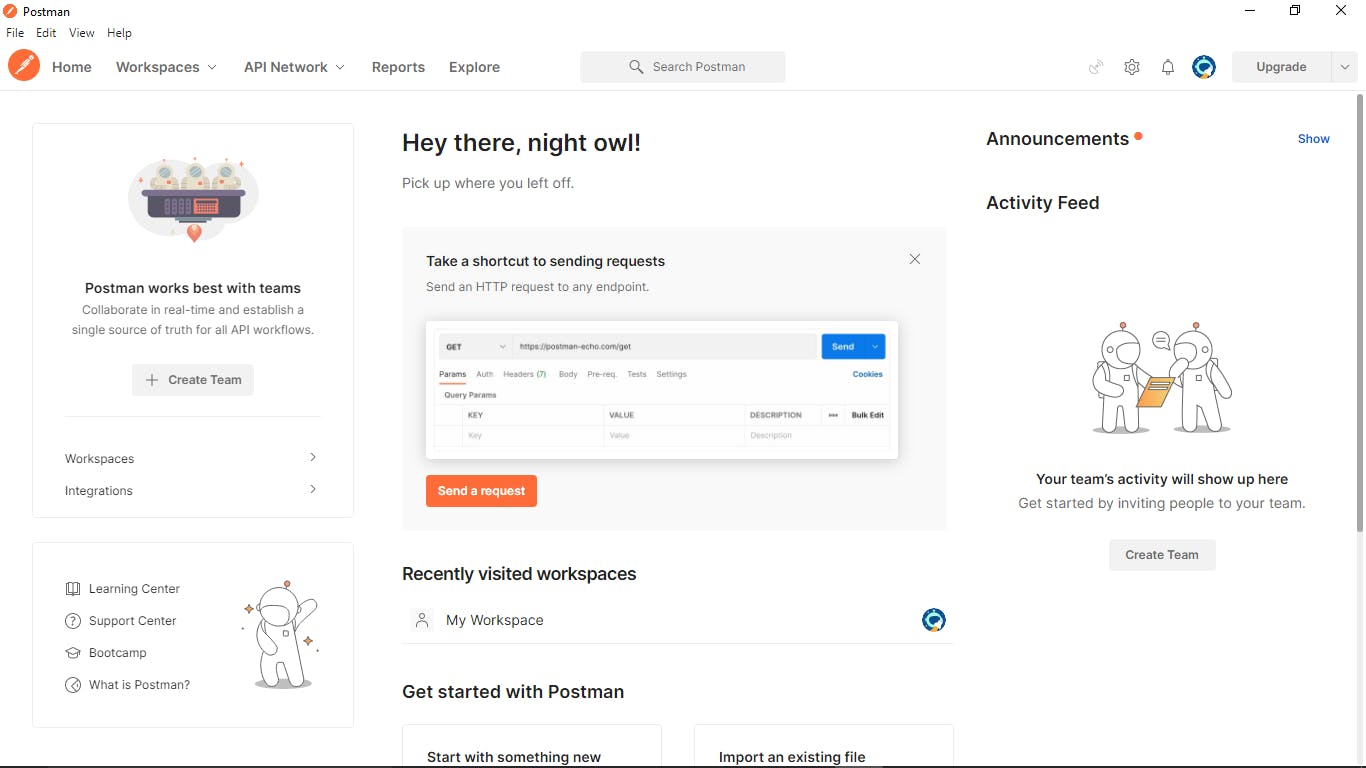 next download Postman.
Postman is an API platform for building and using APIs. Postman simplifies each step of the API lifecycle and streamlines collaboration so you can create better APIs—faster(we got this whole story from Postman's official website).
next download Postman.
Postman is an API platform for building and using APIs. Postman simplifies each step of the API lifecycle and streamlines collaboration so you can create better APIs—faster(we got this whole story from Postman's official website).
lastly download Postgres. When you done follow the setup wizard and install the applications.
Coding Begins
Open your VScode, make sure you have git installed on your system, if you don't have git click here and follow this tutorial. On your terminal run the following code.
Initialize node
npm init --yes
next
Install the needed dependencies
npm install bcrypt body-parser cors pg sequelize --save
- Bcrypt: This is for hashing our passwords
- Body-parser: It is responsible for parsing the incoming request bodies in a middleware before you handle it.
- Cors: stands for Cross-Origin Resource Sharing . It allows us to relax the security applied to an API. This is done by bypassing the Access-Control-Allow-Origin headers, which specify which origins can access the API.
- pg: postgresql
- sequelize: Sequelize is a promise-based, Node.js ORM (Object-relational mapping) for Postgres, MySQL, MariaDB, SQLite and Microsoft SQL Server.
next install this globally
npm install -g sequelize-cli
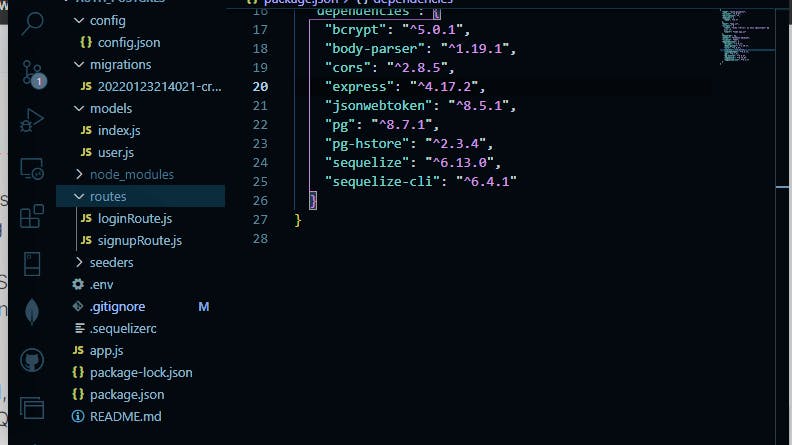
A sample image of how your file structure would be by the end of the project
Don't forget to initialize git on your working folder
Next On your terminal, initialize sequelize by doing this
sequelize init
This should create the “models”, “migrations” and “seeders” folders as well as create the “config/config.json” file.
next
we create the user table migration using the command
migration:create --name create-users
create-users is just a name, use whatever you like.
next you should see something like this
./migrations/20220123214021-create-users.js
Click on the Js file and update.
'use strict';

module.exports = {
  async up (queryInterface, Sequelize) {
   return queryInterface.createTable("users", {
     id: {
       allowNull: false,
      //  autoIncrement: true,
       primaryKey: true,
       type: Sequelize.UUID,
       defaultValue: Sequelize.UUIDV4,
     },
     createdAt: {
      allowNull: false,
      type: Sequelize.DATE,
    },
    updatedAt: {
      allowNull: false,
      type: Sequelize.DATE,
    },
    deletedAt: {
      type: Sequelize.DATE,
    },
    username: {
      type: Sequelize.STRING,
      allowNull: false
    },
    email: {
      type: Sequelize.STRING,
      allowNull: false,
      unique: true
    },
    password: {
      type: Sequelize.STRING,
      allowNull: false
    },
   });
  },

  async down (queryInterface, Sequelize) {
    return queryInterface.dropTable("users");
  }
};
What we have just done here is create our table. The async up (queryInterface, Sequelize) inserts into the table, while the async down (queryInterface, Sequelize)drops data from the table. What we are requiring from the user are username, email and password.
also create the model in
./models/user.js
"use strict";

// create schema
module.exports = function(sequelize, DataTypes) {
  const User = sequelize.define("user", {
    id: {
      allowNull: false,
      // autoIncrement: true,
      primaryKey: true,
      type: DataTypes.UUID,
      defaultValue: DataTypes.UUIDV4,
    },
    username: {
      type: DataTypes.STRING,
      allowNull: false
    },
    email: {
      type: DataTypes.STRING,
      allowNull: false,
      unique: true
    },
    password: {
      type: DataTypes.STRING,
      allowNull: false
    },
  });

  return User
};
With this lines of code we just created our User model setting the allowNull to false, means the user can't fill null in the data field.
next we se up the config file config/config.json file
{
  "development": {
    "username": "postgres",
    "password": "", //add your own password
    "database": "firstDB",
    "host": "127.0.0.1",
    "dialect": "postgres",
    "port": 5432
  },
  "test": {
    "username": "root",
    "password": null,
    "database": "first_DB_test",
    "host": "127.0.0.1",
    "dialect": "postgres"
  },
  "production": {
    "username": "root",
    "password": null,
    "database": "first_DB_production",
    "host": "127.0.0.1",
    "dialect": "postgres"
  }
}
since we are using postgres, set the dialect to postgres.
Signup and Login routes.
In the routes folder. create signup.js and login.js file for the signup.js file do this
signup.js
const express = require('express');
const models = require('../models')
const bcrypt = require('bcrypt');
const router = express.Router();

const salt = 10;

router.post('/api/signup', async(req, res) => {

  let hashedPassword = await bcrypt.hash(req.body.password, salt);
  await models.user.create({
    username: req.body.username,
    email: req.body.email,
    password: hashedPassword
  }).then((user) =>{
    res.status(200).send({
      message: 'User was Registered successfully'
    });
  }).catch(err => {
    res.status(500).send({
      message: err.message
    })
  })
});

module.exports = router
We began by calling the modules we needed, then we created salt: this is the amount of time the password would be hashed. When ever this route '/api/signup' is called, this is lines of code above is executed.
login.js
const express = require('express');
const models = require('../models');
const bcrypt = require('bcrypt');
const router = express.Router();

router.post('/api/login', async(req, res) => {
  const email = req.body.email
  const password = req.body.password;
  console.log(email, password);

  try{
    await models.user.findOne({ where: {'email': email}, }).then(user => {
      if(user == null) {
        return res.json({message: "Invalid Credentials"})
      };
      let validatePassword = bcrypt.compare(password, user.password)
      if(!validatePassword){
        return res.json({message:"Invalid Credentials"})
      }

      res.json({message: 'Login successful'})
    });
  }
  catch(err){
    res.json({message: err.message})
  }

})

module.exports = router;
Ater creating our login and signup we export this files to our app.js
next is our app.js
app.js
const express = require('express');
const bodyParser = require('body-parser');
const cors =require('cors')
const Sequelize = require('sequelize');

const signUp = require('./routes/signupRoute');
const login = require('./routes/loginRoute');

const app = express();

let corsOptions = {
  origin: "http://localhost:3031"
};

app.use(cors(corsOptions));

// app.use(cors);

app.use(bodyParser.json());
app.use(bodyParser.urlencoded ({extended: true }))


app.get('/', (req, res) => {
 res.json({message: 'Welcome to food'})
})

// connect to db

const sequelize = new Sequelize (
  'firstDB', // DB name
  'postgres',
  '' //add your password,
  {
    host: 'localhost',
    dialect: 'postgres'
  }
)
sequelize.authenticate().then(() =>{
  console.log('Database Connected Successfully')
}).catch((error) => {
  console.log('Database Connection Failed', error)
})


// signup
app.post('/api/signup', signUp);

// login
app.post('/api/login', login)


const PORT = process.env.PORT || 3000
app.listen(PORT, () => {
  console.log(`Sever is running on port ${PORT}`)
});
In our app.js file we import relevant modules, along with our signup and login routes we exported. We require our body-parser which allows us capture data sent from the client side. Next we connected to our database.
To run our code use the command
node app.js
or
nodemon app.js.
Nodemon automatically checks for changes. It updates and restarts the server. To install nodemon run the following command on your terminal
npm install nodemon
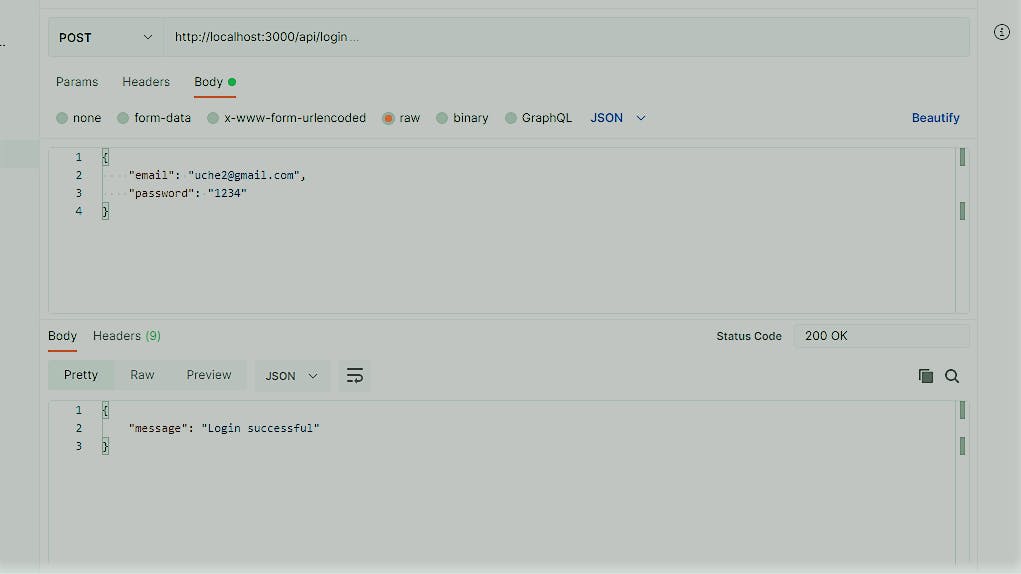
Testing
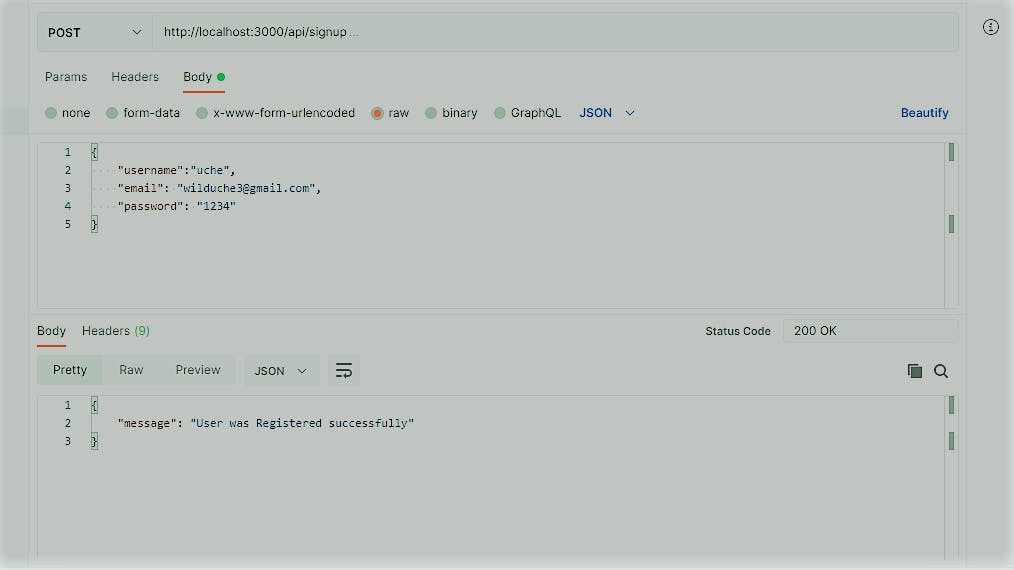
Open your Postman application and do this
Test signup
Test login
Conclusion
One final step, the use of version control, we version control I use is git. VScode has an extension for it which makes it easy to post your github account without having to leave your code editor.
Pushing our code to Github
You can run the following command on your git bash terminal
git add .
git commit -m 'My First Postgres data'
git push origin master
Here is the link to my work on github.
Thanks for reading.
First day as an intern, Will be keeping you updated on my progress.
Bye for now!
NB: This is my First article